.svg)

Integrating the AppsOnAir AppSync SDK into your native Android app is straightforward with this step-by-step guide, crafted for developers at any stage of their journey.
What is AppSync?
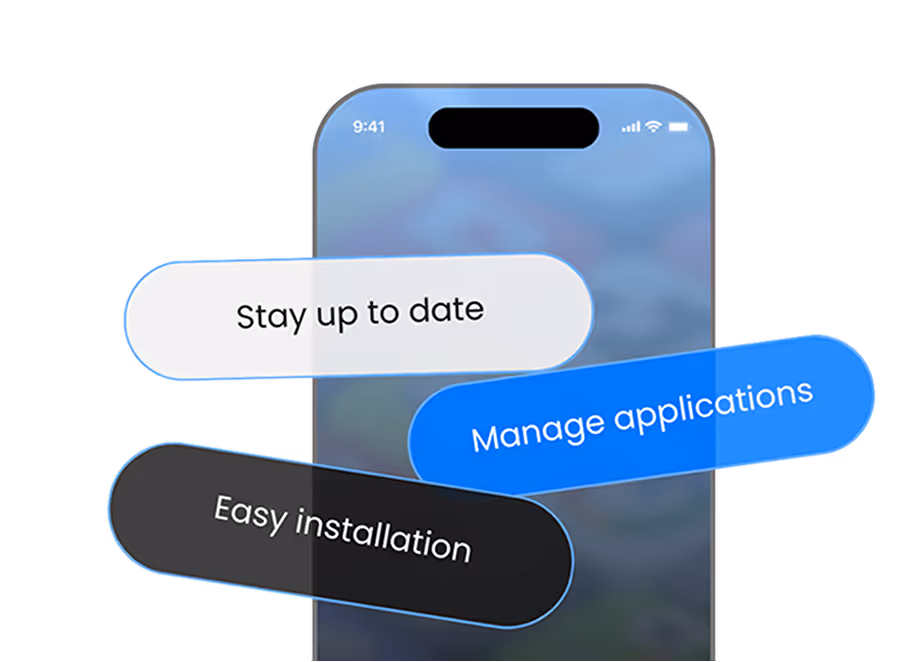
AppSync makes app updates and maintenance effortless, enabling you to manage forced updates, optional updates, and maintenance seamlessly with automatic triggers at app startup.
It also simplifies the distribution of beta builds, update management for Android applications, helping streamline your testing and release workflow.
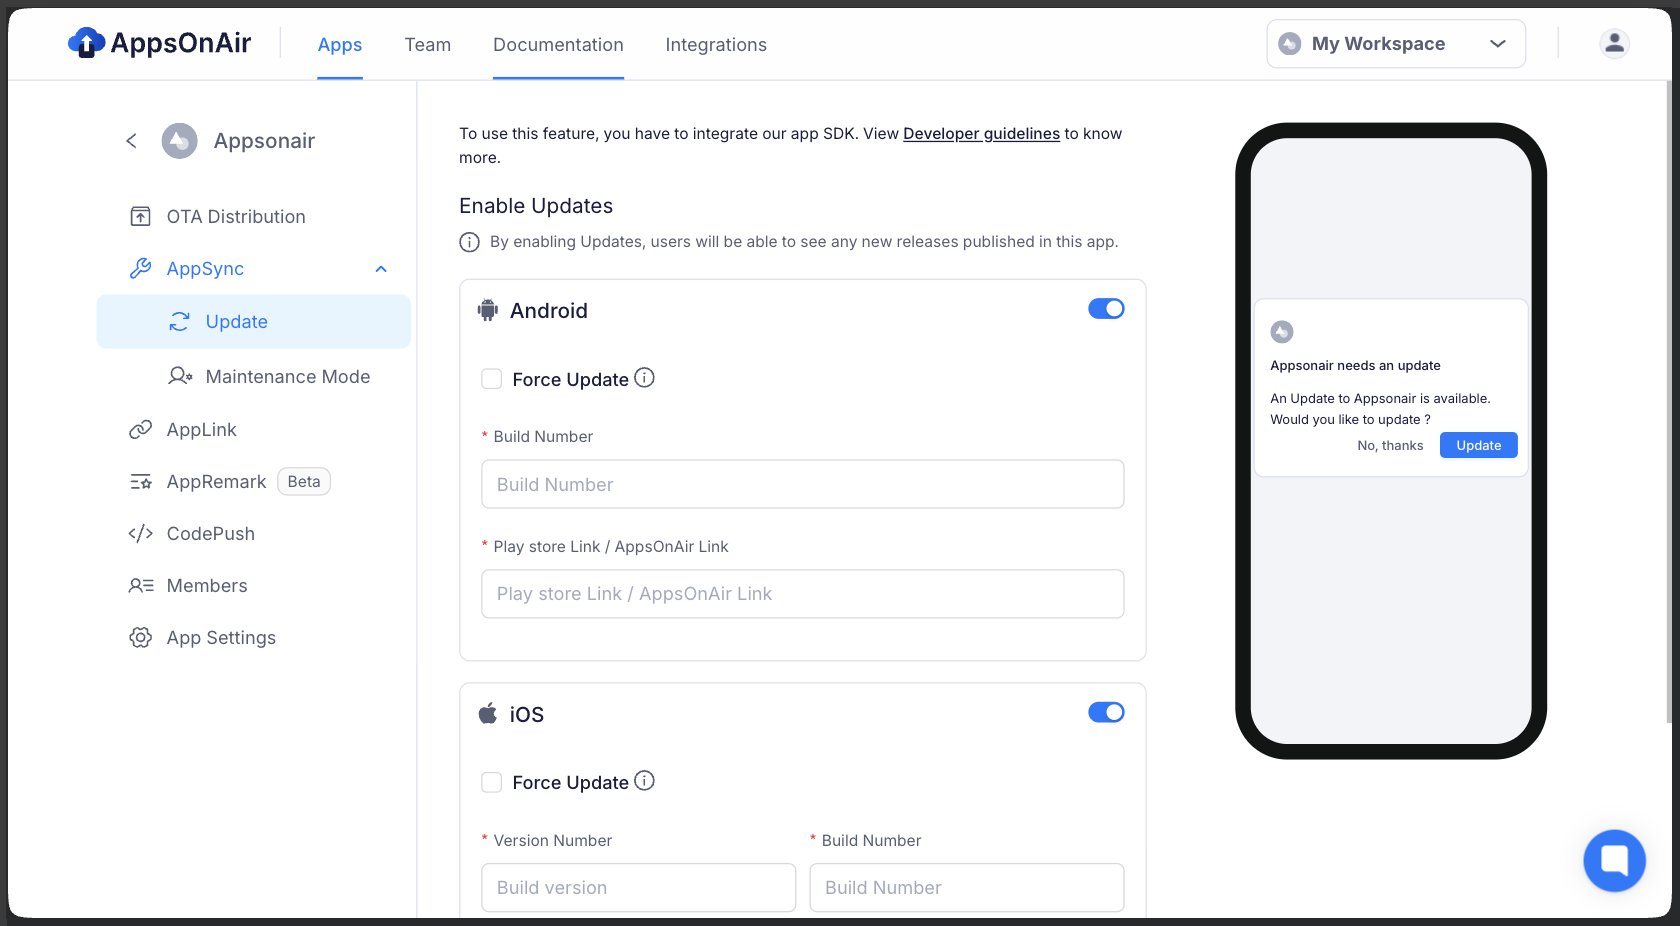
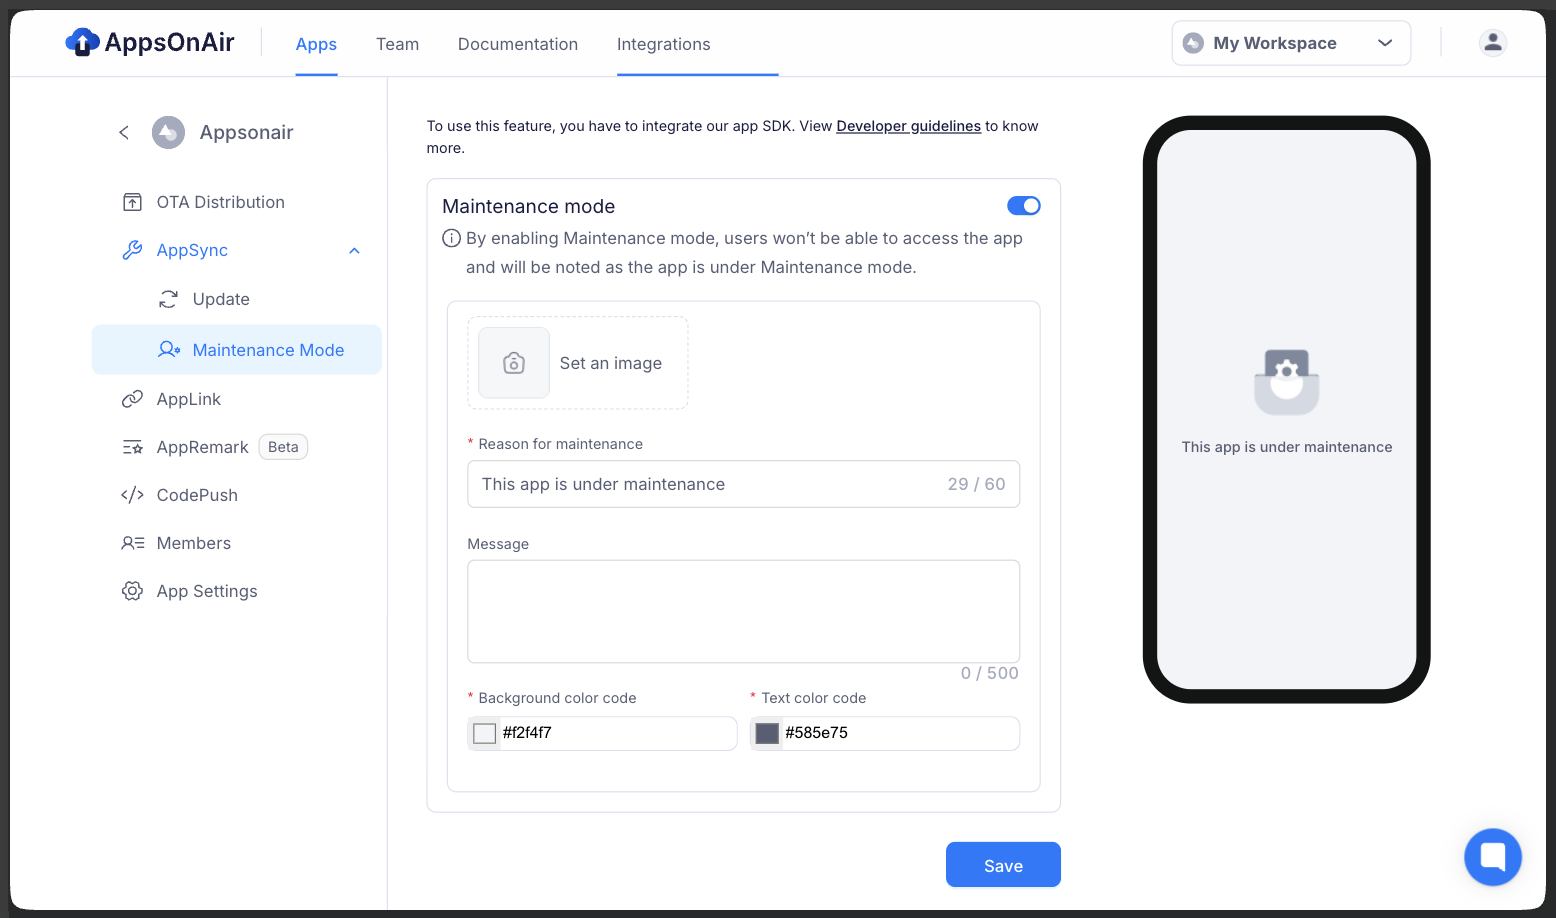
The images above show the web dashboard, where you can manage app updates and control the maintenance mode for your mobile application.
Prerequisites
Before integration, confirm you have:
- API level 24 (Nougat) or higher
- Android Gradle Plugin version 8.0.2+
- An AppsOnAir account (sign up here)
- Your App ID from the AppsOnAir dashboard (App Settings > Keys & IDs)
Getting Started With Integration
Step 1: Android Setup Made Simple
To get started with AppSync on Android, you’ll need to update a couple of configuration files. Each step is straightforward and ensures your project is ready for smooth integration.
Add JitPack Repository
In your settings.gradle.kts file, include the JitPack repository:
maven("https://jitpack.io")
In your gradle.properties file, add the following lines:
android.useAndroidX = true
android.enableJetifier = true
Android configuration involves a few key files, but each step serves a specific purpose.
AndroidManifest Configuration: Add your application ID as metadata in AndroidManifest.xml under the application tag:
<application>
    ...
    <meta-data
        android:name="AppsonairAppId"
        android:value="********-****-****-****-************" />
</application>
Replace the placeholder with your actual application ID from the AppsOnAir dashboard.
Add meta-data to the app’s AndroidManifest.xml file under the application tag
   <!-- add meta-data inside application tag -->
   <application>
       <!-- App icon for dialog  -->
       <meta-data
           android:name="com.appsonair.icon"
           android:resource="@drawable/app_icon" />

       <!-- App name for dialog  -->
       <meta-data
           android:name="com.appsonair.name"
           android:value="app_name" />
   </application>
Step 2: Add the Plugin
First, add the latest AppSync dependencies to your app/build.gradle:
dependencies {
implementation("com.github.apps-on-air:AppsOnAir-Android-AppSync:Latest-Version")}
Step 3: Import and Initialize
import com.appsonair.appsync.services.AppSyncService

// Initializing AppSyncService with callback for custom UI
       AppSyncService.sync(
           this,
           options = mapOf("showNativeUI" to true),
           callBack = object : UpdateCallBack {
               override fun onSuccess(response: String?) {
                  // Handle success response
               }

               override fun onFailure(message: String?) {
                      // Handle failure response
               }
           },
       )
Note: To manage the update alert UI yourself, set showNativeUI to false. You can then handle your version control UI in the onSuccess method, which provides the relevant data from your AppsOnAir dashboard.
By following these guidelines, you can manage your app’s version effectively, ensuring users can download the latest updates seamlessly. Maintenance mode can also be handled during development and deployment to prevent unexpected user actions.
For more information visit the official documentation