.svg)

Collecting user feedback and tracking bugs are critical steps in building high-quality Android apps. Without a clear system in place, issues can go unnoticed, and user satisfaction may drop. AppRemark provides a simple and efficient solution for managing feedback and reporting bugs directly from your Android app. In this guide, we’ll explore how AppRemark can help developers streamline the feedback process, identify issues faster, and ultimately deliver a better user experience.
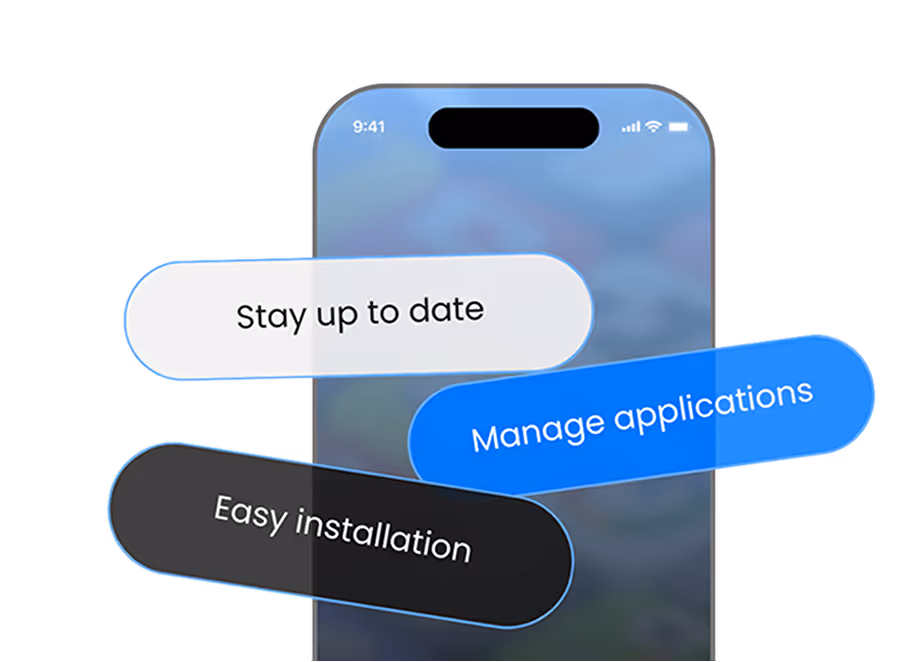
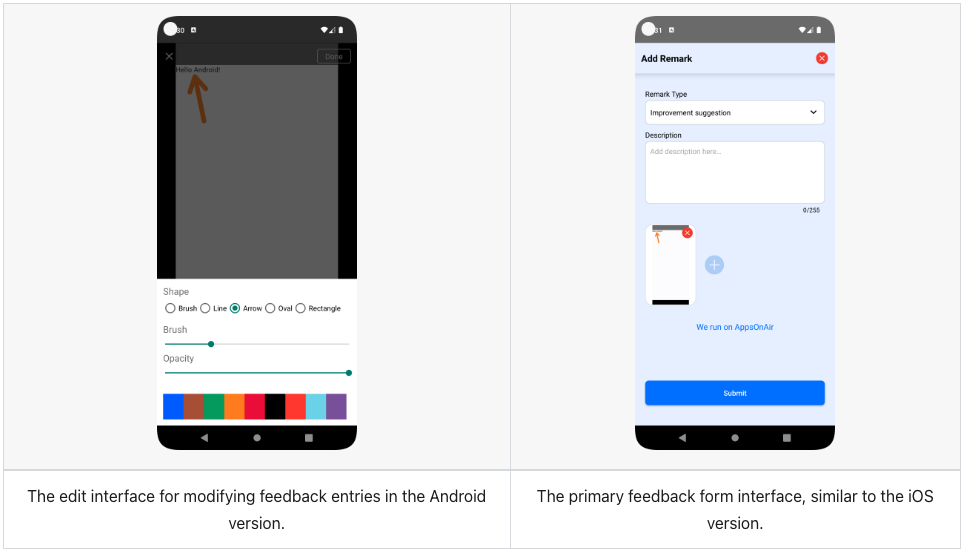
With AppRemark, users can submit feedback or report bugs by just shaking their phone. Once integrated into your app, a feedback screen automatically appears when the device is shaken, enabling users to share their feedback and attach images. This makes it easier for developers to address issues and enhance the app’s user experience
Getting Started With Integration
Prerequisites
Before integration, confirm you have:
- API level 24 (Nougat) or higher
- Android Gradle Plugin version 8.0.2+
- An AppsOnAir account (sign up here)
- Your App ID from the AppsOnAir dashboard (App Settings > Keys & IDs)
Step 1: Android Setup Made Simple
To get started with AppRemark on Android, you’ll need to update a couple of configuration files. Each step is straightforward and ensures your project is ready for smooth integration.
Add JitPack Repository
In your settings.gradle.kts file, include the JitPack repository:
maven("https://jitpack.io")
In your gradle.properties file, add the following lines:
android.useAndroidX = true
android.enableJetifier = true
Android configuration involves a few key files, but each step serves a specific purpose.
AndroidManifest Configuration: Add your application ID as metadata in AndroidManifest.xml under the application tag:
<application>
    ...
    <meta-data
        android:name="AppsonairAppId"
        android:value="********-****-****-****-************" />
</application>
Replace the placeholder with your actual application ID from the AppsOnAir dashboard.
Step 2: Add the Plugin
First, add the latest AppRemark dependencies to your app/build.gradle:
dependencies {
implementation("com.github.apps-on-air:AppsOnAir-Android-AppRemark:Latest-Version")}
Step 3: Import and Initialize
import com.appsonair.appremark.services.AppRemarkService
//AppRemark service Initialization with customizes and handle shakeGestureEnable
AppRemarkService.initialize(this,true, mapOf("appBarTitleText" to "Add Remark"))
The above method initializes the AppRemark service with three parameters: context, shakeGestureEnable, and options.
- context: The activity context where the remark service is initialized.
- shakeGestureEnable: A boolean that enables or disables the shake gesture for opening the remark screen.
- options: A map used to customize the remark screen’s UI, such as changing the app bar title or other visual elements.
Users can customize the theme of the feedback screen and manage text display on screen using below mentioned params.
Step 3: Manually open the AppRemark Screen
 //Help to open remark screen manually and add extra data about app
   AppRemarkService.addRemark(this, mapOf("XX" to "ABC"))
This method is used to manually open the remark screen, enabling users to provide feedback.
- context: The activity context where the remark service is initialized.
- extraPayload: An optional parameter for passing additional metadata, such as app version, flavors, or other contextual details. This information is sent with the feedback to improve tracking, categorization, and analysis. Refer to the examples above for usage.
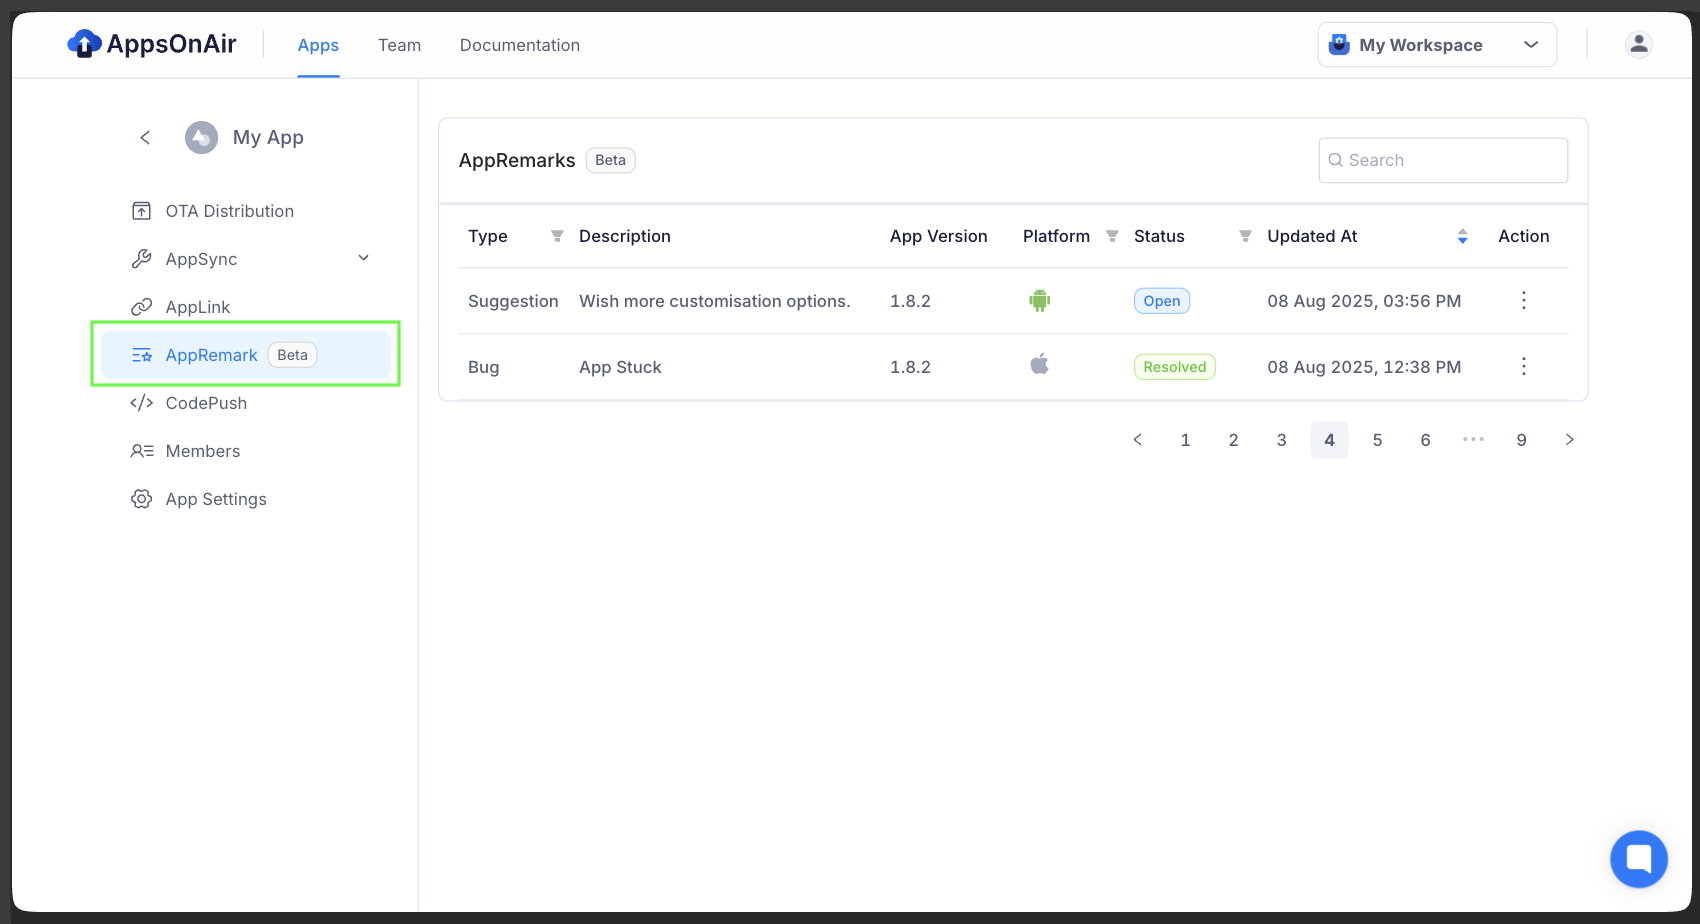
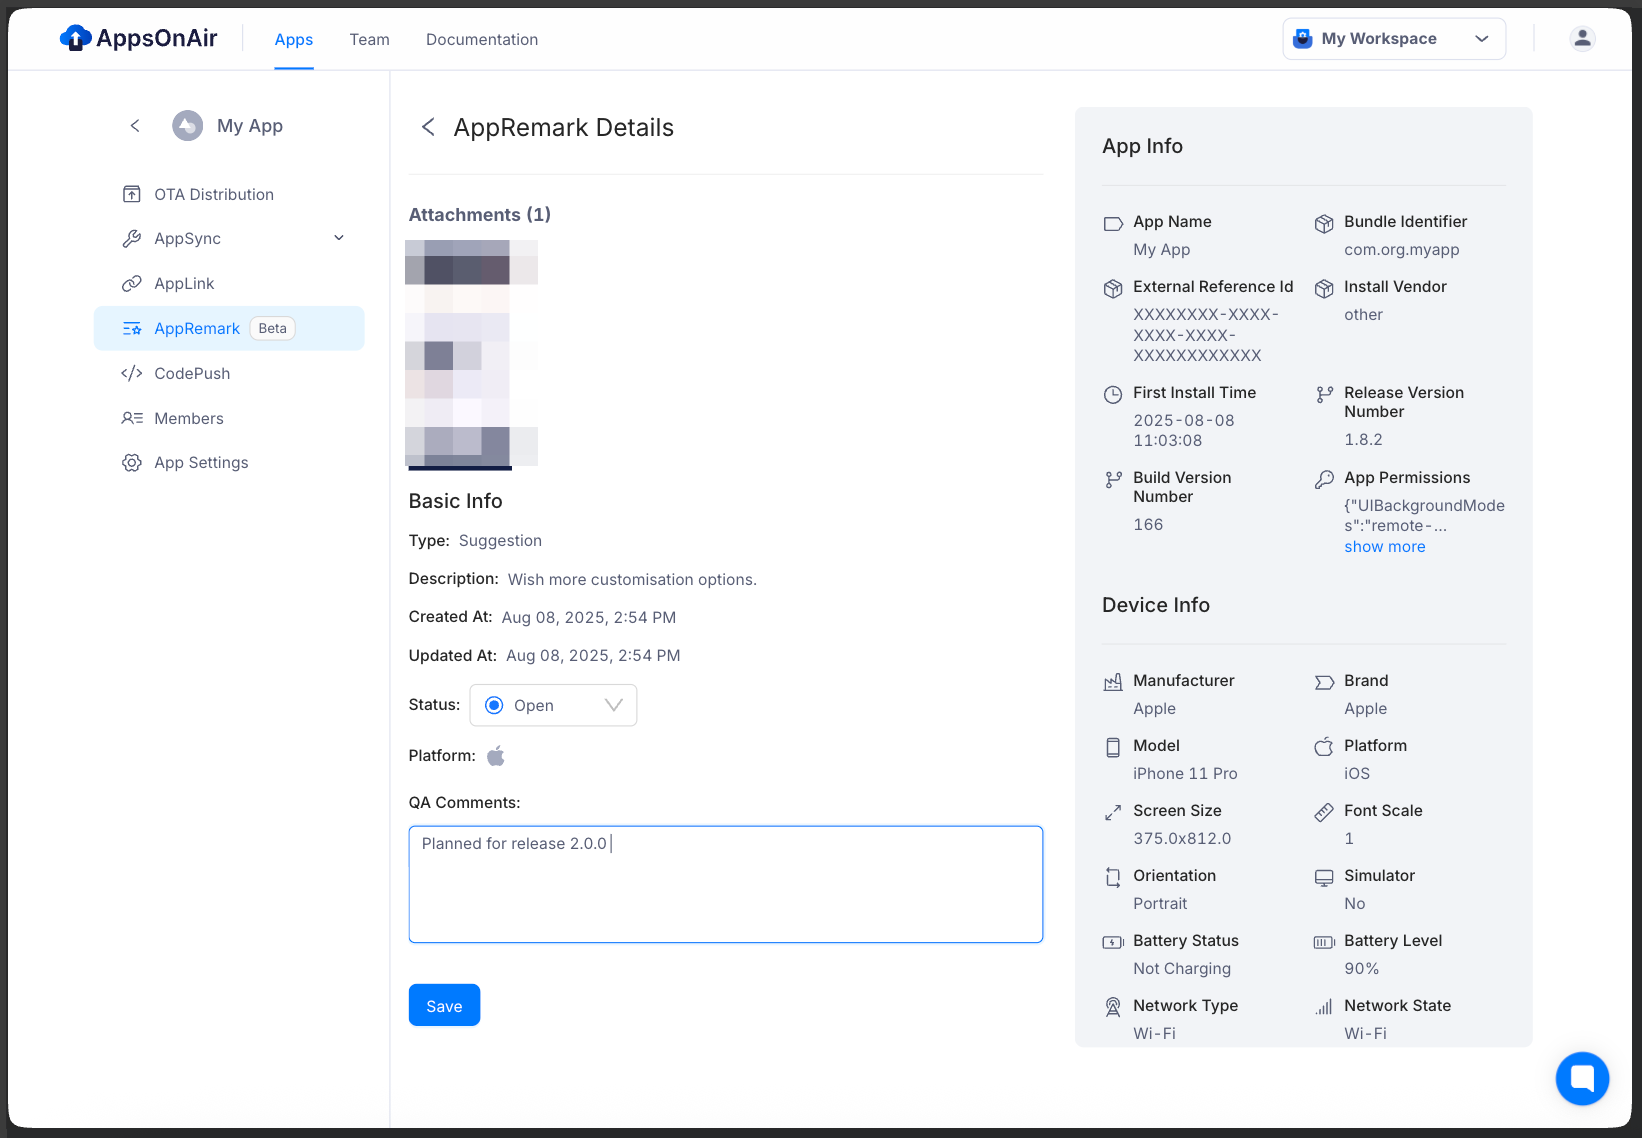
Once a user submits feedback, you can track it in the web dashboard under the AppRemark section and perform the action on it.
By following the guidelines above, you can effectively manage user experience by fixing bugs and making improvements, which enhances user satisfaction and boosts your app’s performance.
For more information visit the official documentation